How to Make a Needlepoint Pillow?
Have you ever wanted to add a personal touch to your home decor? Making a needlepoint pillow is a fun and rewarding way to do just that! In this guide, we’ll walk you through every step of creating your very own needlepoint pillow, from picking out materials to adding the final touches.
Quick Answer: To make a needlepoint pillow, choose a design, prepare your canvas, stitch the design using a tent stitch, finish the edges, assemble the pillow cover, and add stuffing.
My Needlepoint Journey
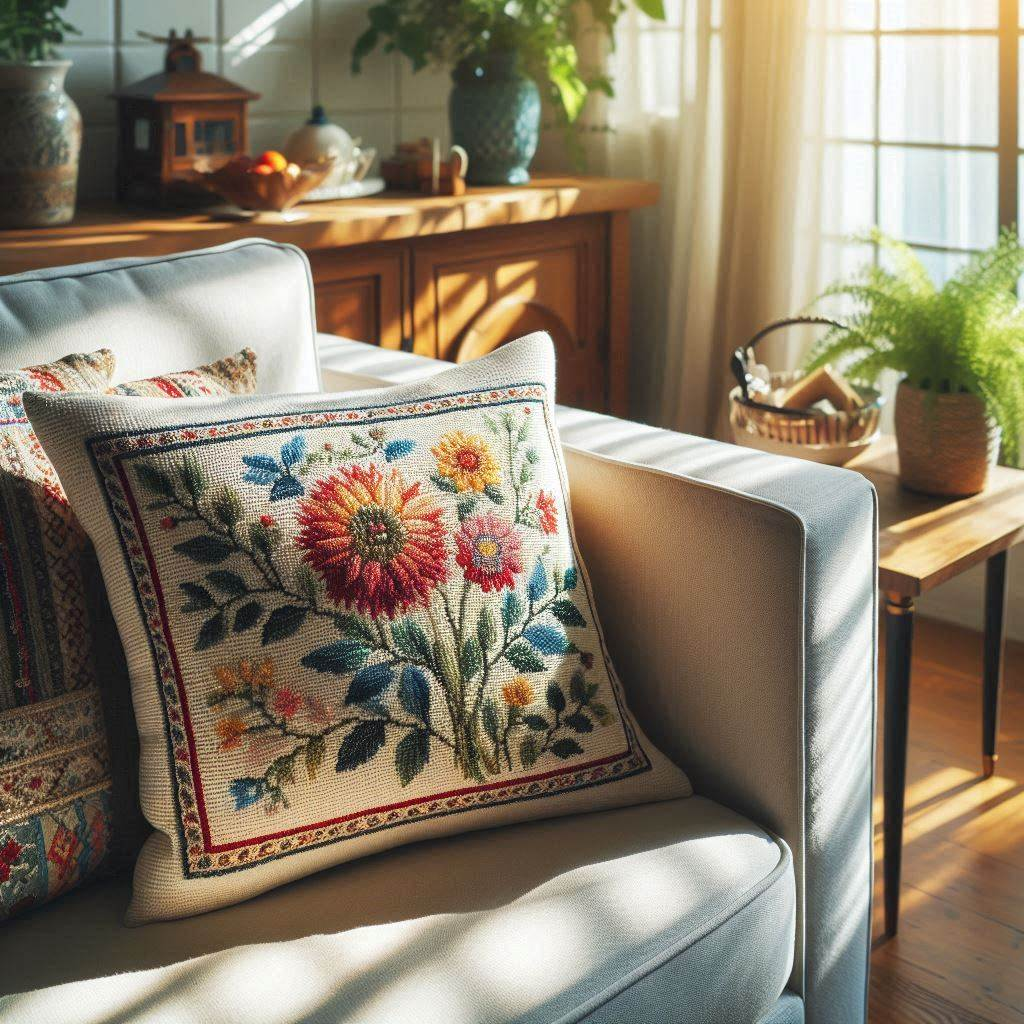
Before we dive in, let me share a little story. Last winter, I decided to try my hand at needlepoint. I was looking for a cozy indoor hobby, and needlepoint seemed perfect. I chose a simple sunflower design for my first project – a pillow for my reading nook. Little did I know, this project would become my go-to stress reliever!
“Every evening, I’d curl up on the couch with my needlepoint canvas, slowly bringing that sunflower to life. It wasn’t always easy – I made plenty of mistakes! But watching the design take shape was so satisfying. Now, whenever I see that pillow, I’m reminded of those peaceful winter evenings and the joy of creating something with my own hands.”
Now, let’s get started on your needlepoint pillow adventure!
What You’ll Need
First things first, let’s gather our supplies. Here’s what you’ll need to make your needlepoint pillow:
- Needlepoint canvas (the size depends on how big you want your pillow)
- Wool yarn or embroidery floss
- A blunt tapestry needle
- An embroidery hoop or frame
- Scissors
- Fabric for the back of the pillow
- Sewing thread and needle
- Pillow stuffing or a pillow form
Step-by-Step Guide to Needlepoint Pillow Making

1. Pick Your Design
The first step in making your needlepoint pillow is choosing a design. This is the fun part! You can find needlepoint patterns online, in craft books, or even create your own. If you’re new to needlepoint, it’s best to start with a simple design that doesn’t have too many color changes.
Pro Tip: Look for inspiration in nature, geometric patterns, or your favorite artwork. Remember, your pillow will be a piece of art for your home, so choose something you’ll love looking at every day!
2. Get Your Canvas Ready
Once you’ve picked your design, it’s time to get your canvas ready. If you’re using a pre-printed canvas, you can skip this step. If not, you’ll need to transfer your design onto the canvas. You can do this by:
- Using a fabric pen to draw the design directly on the canvas
- Using transfer paper to copy the design onto the canvas
- Following a chart, counting the squares on your canvas
After you’ve transferred your design, put your canvas in an embroidery hoop or frame. This keeps the canvas tight and makes it easier to work on.
3. Start Stitching!
Now for the main event – stitching! The most common stitch in needlepoint is the tent stitch. Here’s how to do it:
- Thread your needle with your chosen yarn or floss.
- Start from the back of the canvas, bringing your needle up through a hole.
- Make a diagonal stitch to the upper right, going down through the next hole.
- Keep making these diagonal stitches, filling in your design.
Remember: Keep your stitches even and not too tight. You want them snug enough to cover the canvas, but not so tight that they pucker the fabric.
4. Changing Colors
When you need to change colors, simply tie off your current thread on the back of the canvas and start with a new color. Try to weave your ends into existing stitches on the back to keep things tidy.
5. Finishing the Edges
Once you’ve finished stitching your design, it’s time to finish the edges of your canvas. This prevents fraying and gives your pillow a neat look. You can:
- Use a sewing machine to zigzag stitch around the edges
- Hand-sew a binding around the edge
- Use fabric glue to seal the edges (make sure it’s flexible when dry!)
6. Assembling Your Pillow
Now it’s time to turn your needlepoint into a pillow! Here’s how:
- Cut a piece of backing fabric the same size as your needlepoint piece.
- Place the needlepoint and backing right sides together.
- Sew around three and a half sides, leaving a gap for stuffing.
- Turn the pillow right side out through the gap.
- Stuff your pillow with fiberfill or insert a pillow form.
- Hand-sew the gap closed.
Tips for Needlepoint Success
- Take breaks: Needlepoint can be hard on your eyes and hands. Take regular breaks to stretch and rest.
- Use good lighting: Make sure you have plenty of light to see your work clearly.
- Start in the middle: Beginning your stitching in the center of the design helps keep everything centered and even.
- Keep it clean: Wash your hands before stitching to keep your work clean.
- Have fun: Remember, this is a creative project. Enjoy the process!
Troubleshooting Common Needlepoint Problems
Even experienced stitchers run into problems sometimes. Here are some common issues and how to fix them:
Uneven Stitches
If your stitches look uneven, it might be because you’re pulling some tighter than others. Try to keep a consistent tension as you stitch. If you notice this problem, take a break and come back with fresh eyes.
Running Out of Yarn
Always buy a little more yarn than you think you’ll need. If you do run out, try to match the color as closely as possible. Most people won’t notice slight differences unless they’re looking very closely.
Mistakes in the Pattern
If you notice a mistake in your stitching, don’t panic! Small mistakes often blend into the overall design. For bigger mistakes, you can carefully unpick the stitches and redo that section.
The Joy of Needlepoint
Making a needlepoint pillow is more than just creating a decorative item for your home. It’s a chance to slow down, focus on something creative, and make something truly unique. Each stitch is a moment of mindfulness, a break from the rush of everyday life.
As you work on your pillow, you might find yourself getting lost in the rhythm of stitching, your worries melting away as you focus on bringing your design to life. And when you’re done, you’ll have a beautiful, handmade pillow that tells a story – your story.
Next Steps in Your Needlepoint Journey
Once you’ve finished your first needlepoint pillow, you might find yourself hooked! Here are some ideas for your next needlepoint adventures:
- Try more complex designs with multiple colors and stitches
- Make needlepoint wall hangings or framed art
- Create personalized gifts for friends and family
- Experiment with different types of yarn or thread
- Join a local needlepoint group to share tips and make friends
Wrapping Up
Creating a needlepoint pillow is a journey – from choosing your design to adding the final touches. It’s a craft that combines creativity, patience, and a bit of math (all that counting!). Whether you’re making a pillow for your own home or as a gift for someone special, needlepoint is a wonderful way to express yourself and create something truly unique.
Remember, every expert was once a beginner. Don’t be afraid to make mistakes – they’re part of the learning process. The most important thing is to enjoy the journey. Happy stitching!
Ready to start your needlepoint pillow? Gather your supplies, choose a design that speaks to you, and dive in. Before you know it, you’ll be curled up with your very own handmade pillow, ready to start your next needlepoint adventure!


Leave a Reply