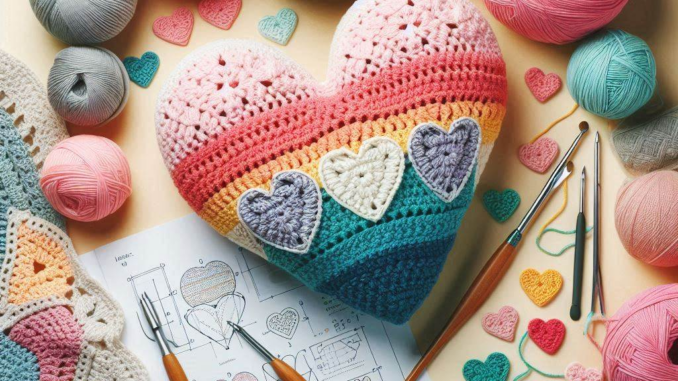
How to Crochet a Heart Pillow
Crocheting a heart pillow is a fun and easy project that adds a cozy touch to any room. Whether you’re a beginner or an expert with a hook, this guide will help you create a cute and cuddly heart-shaped pillow. Let’s dive in!
Quick Answer: To crochet a heart pillow, you’ll need yarn, a crochet hook, stuffing, and about 2-3 hours. Start by crocheting two heart shapes, join them, stuff the pillow, and add any decorative touches.
My Heart Pillow Journey
I still remember the day I decided to crochet my first heart pillow. It was a chilly autumn afternoon, and I was looking for a cozy project to work on while watching my favorite TV show. Little did I know that this simple project would become a cherished keepsake and the start of many more heart pillows to come!
What You’ll Need
- Worsted weight yarn (about 200 yards)
- Crochet hook (size H/8 or 5mm)
- Stuffing (polyester fiberfill)
- Yarn needle
- Scissors
- Stitch markers (optional)
Picking the Perfect Yarn
Choosing the right yarn can make or break your heart pillow project. Here are some tips:
- Softness: Look for yarns labeled as “soft” or “plush” for a cuddly pillow.
- Color: Pick colors that match your decor or go for bright hues for a pop of color.
- Texture: Smooth yarns work best for beginners, but feel free to experiment with textured yarns as you gain experience.
Step-by-Step Heart Pillow Instructions

1. Make a Magic Ring
Start your heart pillow with a magic ring. This creates a tight center for your heart shape.
- Wrap the yarn around your fingers, leaving a tail.
- Insert your hook into the circle.
- Yarn over and pull through the loop.
- Chain 1 to secure the ring.
2. Crochet the First Round
Work 6 single crochet (sc) stitches into the magic ring. Pull the tail to tighten the ring, then join with a slip stitch to the first sc.
3. Shape the Heart
Now, let’s create the heart shape:
- Round 2: Chain 1, 2 sc in each stitch around (12 sc total). Join with a slip stitch.
- Round 3: Chain 1, *1 sc in next stitch, 2 sc in next stitch* repeat from * around (18 sc total). Join with a slip stitch.
- Round 4: Chain 1, *1 sc in next 2 stitches, 2 sc in next stitch* repeat from * around (24 sc total). Join with a slip stitch.
- Round 5: Chain 1, sc in each stitch around. Join with a slip stitch.
- Round 6-7: Repeat Round 5.
4. Create the Heart’s Lobes
To form the top of the heart:
- Chain 1, sc in next 12 stitches. Chain 1, turn.
- Sc2tog, sc in next 8 stitches, sc2tog. Chain 1, turn.
- Sc2tog, sc in next 6 stitches, sc2tog. Chain 1, turn.
- Sc2tog, sc in next 4 stitches, sc2tog. Chain 1, turn.
- Sc2tog, sc in next 2 stitches, sc2tog.
- Sc2tog.
Fasten off, leaving a long tail for sewing.
5. Make the Second Half
Repeat steps 1-4 to create the second half of your heart pillow.
6. Join the Halves

Place the two heart shapes together, the wrong sides facing. Using a yarn needle and the long tail, sew around the edges, leaving a small opening for stuffing.
7. Stuff and Close
Fill your heart pillow with stuffing, making sure to get into all the corners. Once you’re happy with the fullness, sew the opening closed.
Adding Personal Touches
Now that your basic heart pillow is complete, let’s make it unique!
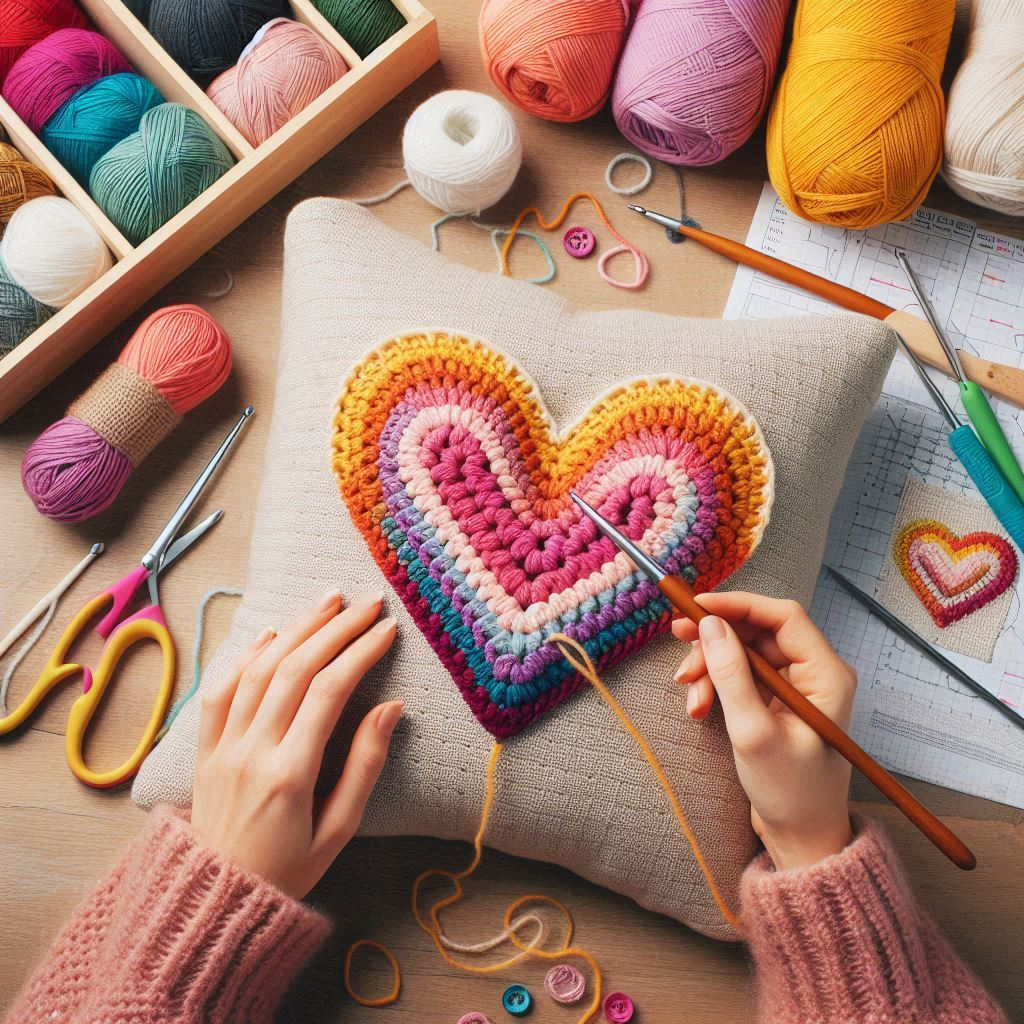
- Embroidery: Use contrasting yarn to add initials, a date, or a simple design.
- Buttons: Sew on cute buttons for extra flair.
- Scented stuffing: Mix in some dried lavender with the stuffing for a soothing aroma.
- Textured yarn: Try using fuzzy or sparkly yarn for a different look and feel.
Troubleshooting Common Issues
Even experienced crocheters can run into problems. Here are some common issues and how to fix them:
Uneven Edges
If your heart edges look wonky, try using stitch markers to keep track of your rounds. Count your stitches often to make sure you’re not accidentally adding or dropping any.
Gaps in Your Stitches
Gaps can appear if your tension is too loose. Try using a smaller hook or holding your yarn more tightly.
Pillow Looks Lopsided
This usually happens when the stuffing isn’t evenly distributed. Gently manipulate the stuffing through the fabric to spread it out.
Caring for Your Heart Pillow
To keep your heart pillow looking its best:
- Spot clean with a damp cloth for small stains.
- For a full wash, place the pillow in a pillowcase and wash on a gentle cycle.
- Air dry to maintain the pillow’s shape.
Fun Facts About Crochet
Did you know? Crochet comes from the French word “crochet,” meaning “small hook.” The craft has been around since the early 1800s and was originally used to make lace alternatives.
Why Crochet a Heart Pillow?
Crocheting a heart pillow isn’t just about creating a cute decoration. It’s a form of self-care and a way to show love to others. Here are some reasons to make one:
- Stress relief: The repetitive motion of crocheting can be very calming.
- Personal touch: Handmade items add warmth and character to your home.
- Perfect gift: A heart pillow makes a thoughtful, personalized present.
- Skill building: This project helps you practice basic crochet stitches and shaping.
Variations on the Heart Pillow
Once you’ve mastered the basic heart pillow, try these fun variations:
- Mini hearts: Make tiny versions to use as sachets or ornaments.
- Heart garland: Crochet several small hearts and string them together.
- Two-tone heart: Use different colors for each half of the heart.
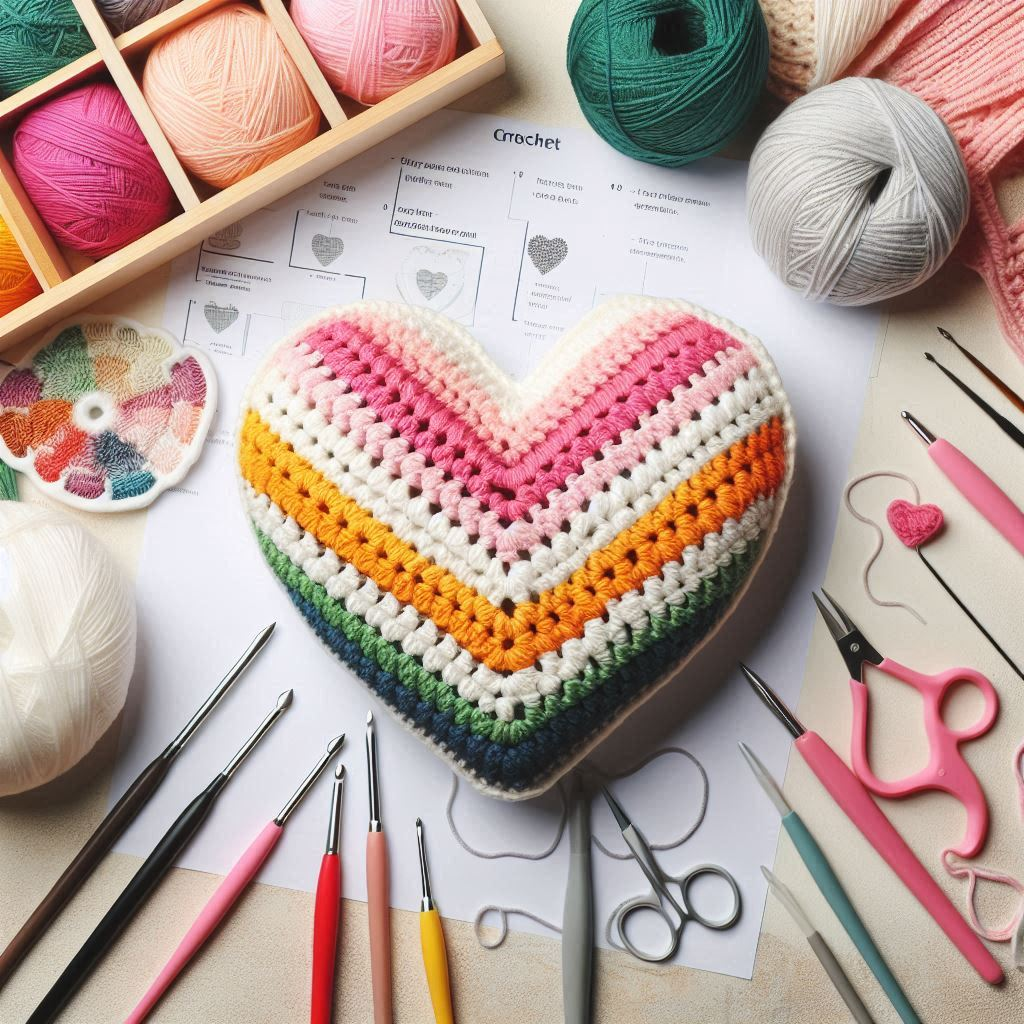
- Striped heart: Change colors every few rows for a striped effect.
Wrapping Up
Crocheting a heart pillow is a fun, rewarding project that anyone can do. With a bit of practice and patience, you’ll have a cuddly creation to brighten up your space or give as a heartfelt gift. Remember, every stitch is made with love, so don’t worry if your pillow isn’t perfect – that’s what makes it special!
Your Turn!
Now that you know how to crochet a heart pillow, why not give it a try? Grab your supplies and start creating! And don’t forget to share your finished pillow with us – we’d love to see what you make!
Happy crocheting!


Leave a Reply